Tag Archives: diy

DIY Custom Shroud for 12″ Sky-Watcher Flextube

Custom-made light shroud for my 12″ Sky-Watcher Dobsonian telescope.

Rainy days and cloudy nights make me so restless. Tonight was another one of those nights. All day, I had been thinking about custom cutting a foam sleeping mat as a shroud for my Sky-Watcher 12″ Dobsonian Flextube. But on the way home, I came up with something a little more complicated and time-consuming. A custom-made cloth shroud.

Measuring the shroud material twice and cutting once.

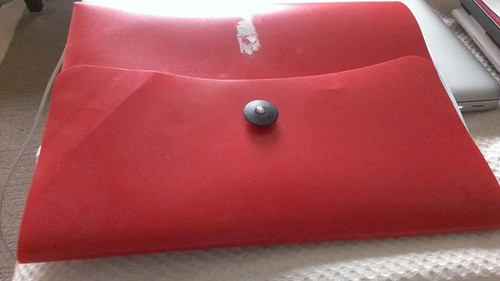
Step 1: I measured the inside diameter of the top and bottom tubes and the distance between them. I came up with 42.5″ diameter x 23″ height. I went to the local Fabricland and bought a thick black cloth from the clearance section ($7).

Christi sewing the edges of the shroud.

Step 2: I measured again and noticed that I had to reduce the inside diameter by half an inch to account for the thickness of the cloth. The maximum thickness allowance is 0.5″, otherwise, the material will reduce the aperture. I folded and ironed the new measurements. My wife sewed the edges for me.

Pins helped hold the folds in place while I sewed by hand.

Step 3: I taped 2 and a half lengths of velcro ($3 from Dollarama) to the top and bottom edges of the cloth and ironed them on. But by that time, my wife had gone to bed. So I had to sew the width side by hand to form the tube (the sewing machine was too complex for me).

Shroud velcro’ed to the primary tube.

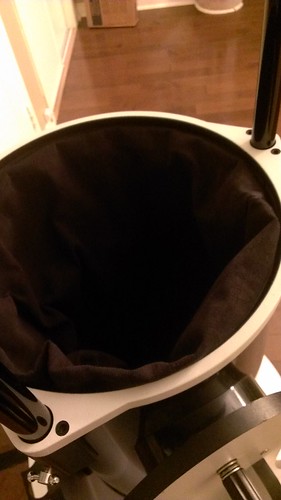
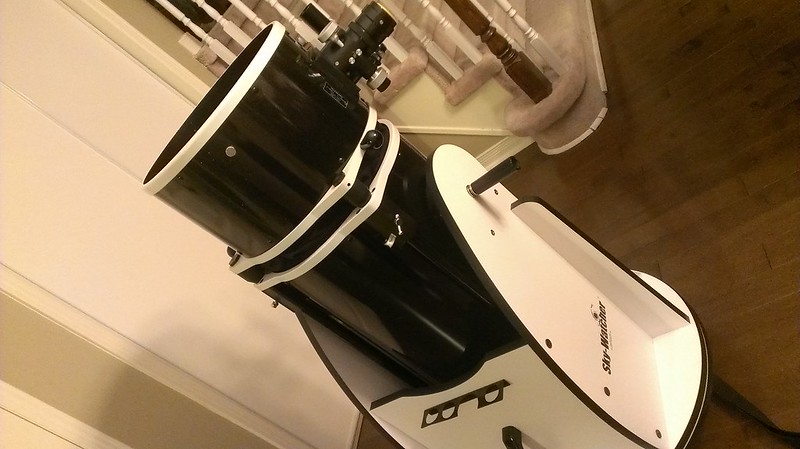
Step 4: I then taped the hook side of the velcro to the inside of the top and bottom tubes and attached the shroud starting from the bottom.

Shroud partially attached to the secondary tube.

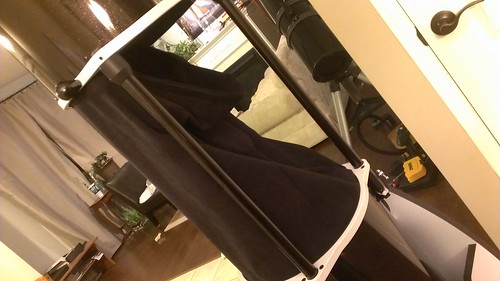
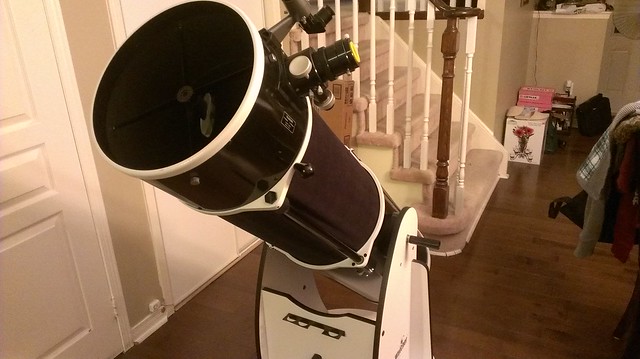
Step 5: With a little tug, I attached the top making sure it was taught all the way around. I looked through the focuser to ensure the shroud was not in the way of the primary.

Voila! A custom-made shroud just the way I like it. Tomorrow, I will be sewing the velcro onto the shroud because it is peeling off.

Hope you enjoyed this DIY.

Light shroud shown with the telescope fully extended.
Light shroud folds neatly in the tube when the telescope is collapsed.


DIY Astronomical Red LED Flashlight

Before and after photo of my Do It Yourself project on how to turn a white LED flashlight into a red astronomical flashlight to minimize reversal of our dark adaptation.

It’s not like this hasn’t been done before, but I needed a red flashlight in a hurry so I put one together using a flashlight from the Dollar Store and red plastic folder kicking around. It takes at least 20 minutes for our eyes to dark adapt, and only a few seconds to lose it by shining a bright light into the pupil. Red light has the least effect on our dark adaptation so that we can observe faint objects and sketch them.

Materials:

1. Flashlight. I bought one from the Dollar Store.
2. Red semi translucent acrylic folder or tote.
3. Scissors.
4. Pencil.

Instructions:

1. Use the head of the flashlight to trace a circle on the acrylic folder. The circle will be larger than the interior of the tube so make sure you trace the line as close as possible.

A small keychain LED flashlight from the Dollar store. This one is about 5″ long.

2. Cut out the circle making sure it is slightly bigger than the flashlight opening. The slight difference will make it push against the interior of the flashlight as well as provide maximum coverage of the white LED’s.

A red translucent folder or tote.

3. Insert plastic cutout into flashlight head. Because the cutout is slightly bigger, the edges will push against the opening to keep itself in place. If the piece is too big, cut away small pieces of it until it is just snug.

A round cutout of the red translucent folder.

4. Turn on flashlight to test for light leaks.  Redo if necessary.

Red flashlight ready for astronomical site.

If the light appears too dim, try it out in a dark room first, like a closet or bathroom. It might just be the perfect brightness. You don’t want it too bright.

Try this out. If you have ways to improve this Do It Yourself project, please share your comments below.