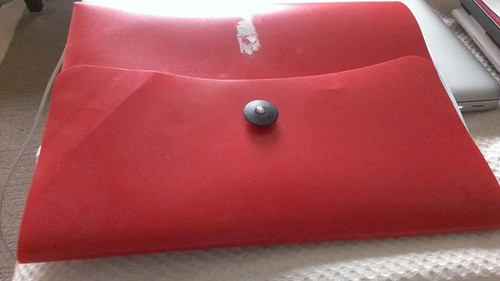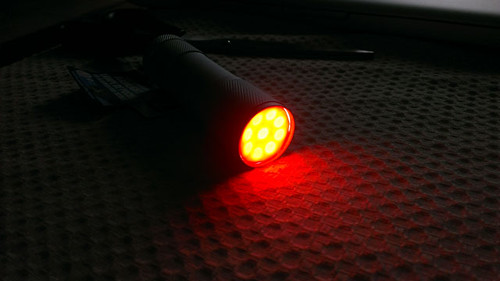
It’s not like this hasn’t been done before, but I needed a red flashlight in a hurry so I put one together using a flashlight from the Dollar Store and red plastic folder kicking around. It takes at least 20 minutes for our eyes to dark adapt, and only a few seconds to lose it by shining a bright light into the pupil. Red light has the least effect on our dark adaptation so that we can observe faint objects and sketch them.
Materials:
1. Flashlight. I bought one from the Dollar Store.
2. Red semi translucent acrylic folder or tote.
3. Scissors.
4. Pencil.
Instructions:
1. Use the head of the flashlight to trace a circle on the acrylic folder. The circle will be larger than the interior of the tube so make sure you trace the line as close as possible.

2. Cut out the circle making sure it is slightly bigger than the flashlight opening. The slight difference will make it push against the interior of the flashlight as well as provide maximum coverage of the white LED’s.

3. Insert plastic cutout into flashlight head. Because the cutout is slightly bigger, the edges will push against the opening to keep itself in place. If the piece is too big, cut away small pieces of it until it is just snug.

4. Turn on flashlight to test for light leaks. Redo if necessary.

If the light appears too dim, try it out in a dark room first, like a closet or bathroom. It might just be the perfect brightness. You don’t want it too bright.
Try this out. If you have ways to improve this Do It Yourself project, please share your comments below.
