All posts by Michael

I am an amateur astronomer from Oshawa, Ontario, Canada. I have always been fascinated by astronomy ever since I was a child. In August 2013, I purchased my first telescope and haven’t looked back since. I am a member of the Durham Region Astronomical Association as well as a member of various online forums.

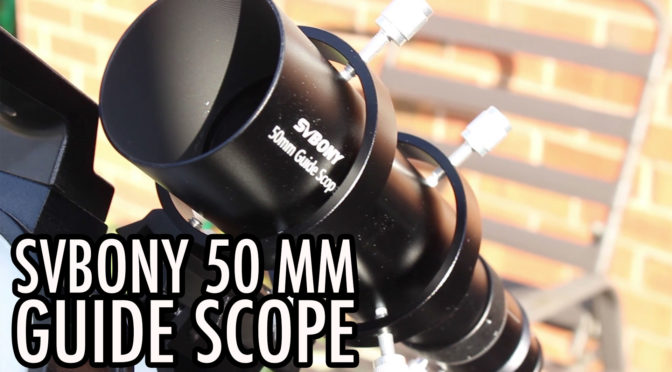
SVBony SV106 50 mm Guide Scope Unboxing Installing First Impressions

Can you use a guide scope as a finder scope? I did. Here are my first impressions of the SVBONY 50 mm guide scope.

While this seems to be a generic guide scope that has sold under different brand names, it doesn’t appear to be cheaply made. This appears to be a good quality product with excellent fit and finish. The rough focussing tube is long enough to reach focus without the need of an extension. The helical focuser was very smooth with no rough grinding feel. When rotating the focuser, it does not rotate whatever is attached at the focuser end. So if you have a camera attached, it will remain in the same orientation instead of twisting any cables that might be attached to it.

When I aligned it during the day, I found the images came through very clearly. The 6 thumb screws took some getting used to for alignment but I was able to align it with precision. I also appreciate how it has nylon tips to prevent scratching the scopes’ nice finish. Finally, the price of this guide scope is so reasonable that I think it offers excellent value for your money.

A few things worth noting are that the trade off for not needing an extension tube to reach focus is that you cannot use a diagonal as an attachment. Also, this did not come with any manual so you would have to figure it out for yourself on how to assemble and install it. I hope this video helped a little bit in that regard. And lastly, the images through the eyepiece appear upside down, but I already expected that. Overall, I think this is a great addition to my astronomy gear.

  1. SVBony SV106 Guide Scope: https://amzn.to/303lUey
  2. SVBony Dovetail Base: https://amzn.to/3oEjrkP

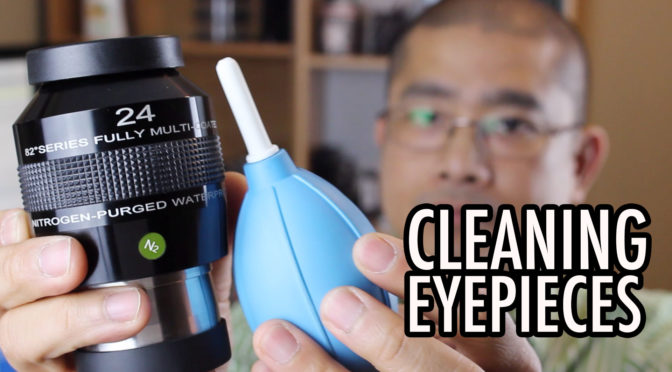
How to Clean Telescope Eyepieces

I will show you how to clean my telescope eyepieces in this episode. And while eyepieces are generally maintenance-free, it’s good practice to keep your eyepieces clean. Over time, the oils on our skin will make the housing of our eyepieces sticky and this can attract dirt. Oils can also get on the lens which makes for a blurry view.

Here are the tools I will use in this video:

Squeeze bulb air blower

  1. Brush: http://amzn.to/2Cgd0dB
  2. Cotton swabs
  3. Microfibre cloth
  4. Alcohol
  5. Lenspen lens cleaner: http://amzn.to/2Cgd0dB

Pocket Sky Atlas: http://amzn.to/2BZUUzG

Sky Maps: http://www.skymaps.com/downloads.html

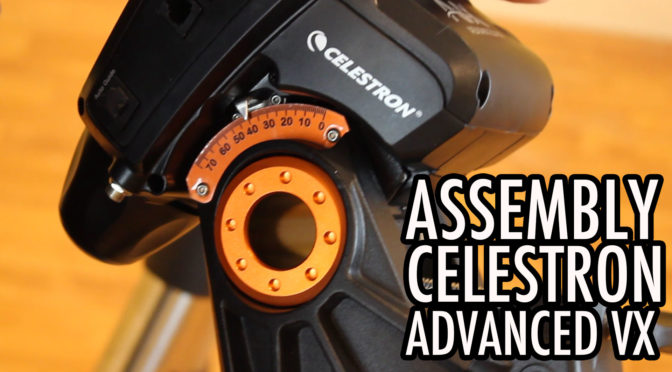
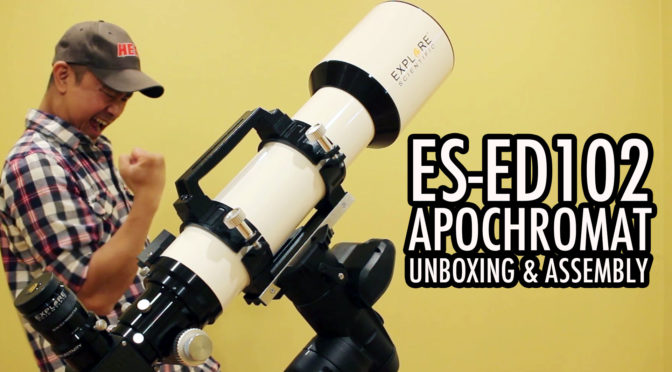
Celestron Advanced VX & Explore Scientific ED 102 Assembly

In my unboxing video, I just winged the assembly but I thought I was still able to assemble it somewhat, but I wasn’t sure what I was really doing. I didn’t know what that alignment peg was for, and what these two knobs were for.  So in this video, I go into more detail about the assembly of the mount, according to Celestron’s instruction manual. I also say goodbye to my Skywatcher Dobsonian telescope. 🙁

DIY Dobsonian Light Shroud: http://newastronomer.com/diy-custom-s…

Celestron AVX Product Link: http://amzn.to/2fBpSUU

ES ED 102 Product Link: http://amzn.to/2gYPGrs

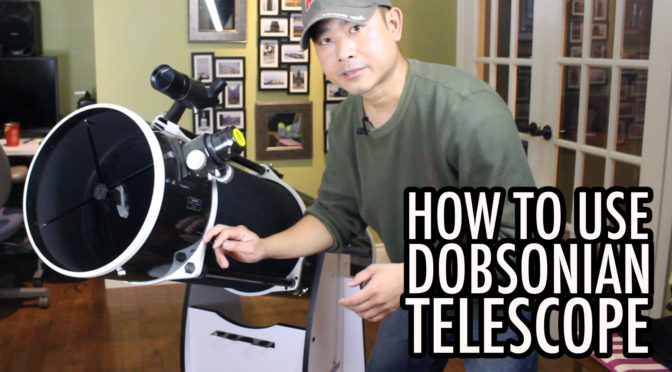
How to Use a Dobsonian Reflector Telescope

This video is aimed at new astronomers who need some help on getting started or returning astronomers who may have forgotten how to use a dobsonian telescope. So if you are of the latter, this is going to be a good refresher.

  1. Inspect & Assemble Telescope
  2. Collimate Telescope
  3. Align Finder Scope
  4. Observe Through Finder Scope
  5. Observe Through Eyepiece

If you are just starting out, I highly advise that you first practice observing larger and brighter objects like the moon because it will be easier to locate.

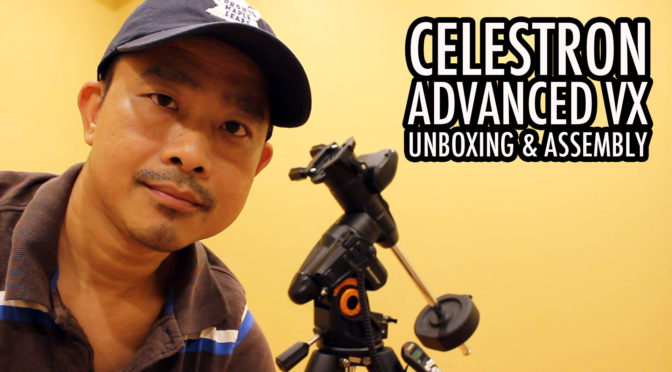
Celestron Advanced VX Mount: Unboxing and Assembly

Finally, my latest video after 2 years! It’s great to be back. This unboxing was my first time seeing the Celestron Advanced VX mount in person and it did not disappoint. My first impression after seeing this mount was that it appeared to be well constructed overall. The tripod legs were thick and heavy. The equatorial mount looked like a fine piece of engineering.

I still don’t know much about this mount yet and I haven’t decided yet which telescope to get. But if you have a suggestion, please let me know in the comments section. What I’m looking for is something lightweight and easy to setup.

Get it from Amazon: http://amzn.to/2fBpSUU

Clear skies!

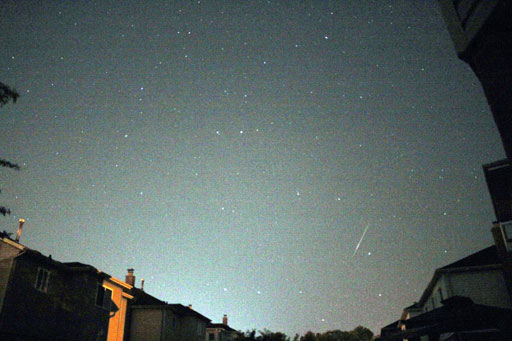
My First Shot in Astrophotography During Perseids 2015

In this report, I tried my had in astrophotography with my Canon EOS Rebel T3i also known as the Canon EOS 600D. I used the Canon EF-S 18-55 mm STI lens kit, the one with the very quick and quiet focus motor.

Seeing conditions were excellent. It was moonless, cloudless, dry with a very light breeze. The temperature was on the chilly side that I needed to wear a head sock and a jacket. However, I shot the photos from my backyard which was subject to a lot of light pollution.

I should have done more research in astrophotography before attempting it for the first time because I had no idea how to use any of the “manual” modes. I ended up using the “No Flash” setting on the dial. Out of the two dozen meteors that I saw that night, I only captured 3 to 4 on film and all of them were grainy. Enjoy the video.

Click here to watch it in a new window.

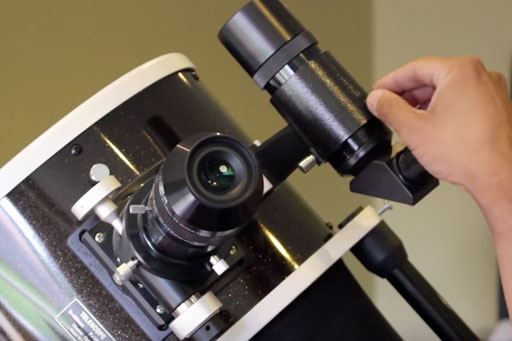
Aligning a Finderscope with the OTA

If you are not seeing the same object in your finderscope and your eyepiece, your finderscope is probably out of alignment. Here’s a quick tutorial on how to align your finderscope with the OTA.

  1. Set your telescope on a solid base. Outdoors would be ideal, but if you have to do this indoors, as long as you have access to a window, it should be fine.
  2. Insert your eyepiece into the telescope. Choose the one with the lowest power or magnification.
  3. Point the telescope at an object that is at least a half mile away and center it in the field of view. A good object is the top of a roof or a light post.
  4. Look through the finderscope. If you don’t see the same object in the center, adjust the knobs on the finderscope mount until it appears in the same central point in the field of view.
  5. Replace the eyepiece with the next step up on magnification.
  6. Repeat steps 3 to 5 for each of your eyepieces.

For a visual tutorial, watch the video below. Enjoy the video.

Click here to watch it in a new window.

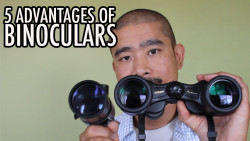
Don’t Overlook Binoculars: 5 Advantages Over Telescopes

Obviously, they have their shortcomings in terms of aperture and magnification, but binoculars are often overlooked by new astronomers because when they think about astronomy, they automatically think about telescopes.

In this video, I will show you 5 advantages that binoculars have over telescopes:

  1. They are small and lightweight.
  2. They are easy to transport.
  3. You might already have one.
  4. They are less expensive.
  5. They make it easier to find objects.

While they also have their obvious disadvantages, like smaller aperture, binoculars have a special place in astronomy. Enjoy the video.

Click here to watch it in a new window.

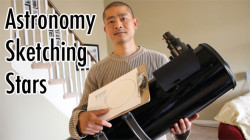
How to Sketch Stars for New Astronomers


Similar to regular sketching, astrosketching is a relaxing and rewarding activity where the subject is the beauty of the night sky.
In this video, i’ll cover the basics of amateur astronomy sketching including:
– Why Astronomy Sketching is Fun
– What tools you need
– Sketching techniques
– Logging your observation
– Digitizing your sketches
– and some common Challenges
I used M45 as my subject which is perfect for beginners like me. You are drawing a portrait of the universe. Take your time and enjoy it.